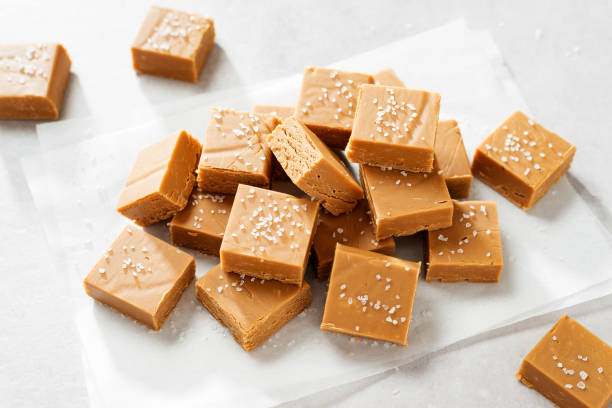
Sticky, gooey, and oh-so-delicious, fudge has a knack for leaving its mark long after the last indulgent bite. But when that mark is smeared across the pristine surface of a glass pan, panic may ensue.
Fear not, for in the culinary world, there are always solutions waiting to be discovered. Whether your fudge has melded itself onto the glass like a stubborn adhesive or left behind a sugary residue reminiscent of a sticky fingerprint, this guide is your ticket to sweet liberation.
Say farewell to the days of scrubbing until your arms ache and hello to a world where fudge remnants are but a fleeting memory.
So roll up your sleeves, summon your inner culinary sleuth, and let’s embark on a journey to uncover the secrets of banishing fudge from glass pans once and for all.
How To Get Fudge Out Of Glass Pan
Removing fudge from a glass pan can be a bit tricky, but it’s definitely doable with the right approach. Here’s a step-by-step process to guide you through it:
Allow the Fudge to Cool Completely
Before attempting to remove the fudge from the glass pan, ensure that it has cooled down completely. This will make it easier to handle and less likely to break apart.
Run a Knife Around the Edges
Take a butter knife or an offset spatula and gently run it around the edges of the fudge. This will help loosen any parts of the fudge that may be stuck to the sides of the pan.
Use Warm Water
Fill a sink or a basin with warm water. The water should be warm, but not hot. Submerge the bottom of the glass pan in the warm water for a few minutes. This will help to slightly warm up the bottom of the fudge and the pan, making it easier to release the fudge.
Tap the Bottom of the Pan
After soaking for a few minutes, remove the pan from the warm water and tap the bottom of the glass pan firmly against a flat surface, such as a countertop or cutting board. The force from tapping should help loosen the fudge from the bottom of the pan.
Invert the Pan
Place a cutting board or a flat surface on top of the glass pan. Hold onto both the pan and the cutting board securely, then quickly invert them so that the glass pan is upside down on the cutting board. Give the pan a gentle shake or tap on the bottom to encourage the fudge to release from the pan.
Apply Gentle Pressure
If the fudge doesn’t release easily, you can try applying gentle pressure to the bottom of the pan. Use your hands to press on the bottom of the pan while simultaneously tapping or shaking it. Be careful not to apply too much pressure, as this could cause the fudge to break apart.
Use a Spatula
If there are still parts of the fudge stuck to the bottom of the pan, use a spatula to carefully scrape them off. Work slowly and gently to avoid damaging the fudge.
Cut Into Pieces
Once you’ve successfully removed the fudge from the glass pan, you can use a sharp knife to cut it into pieces of your desired size and shape.
How to Make the Perfect Fudge
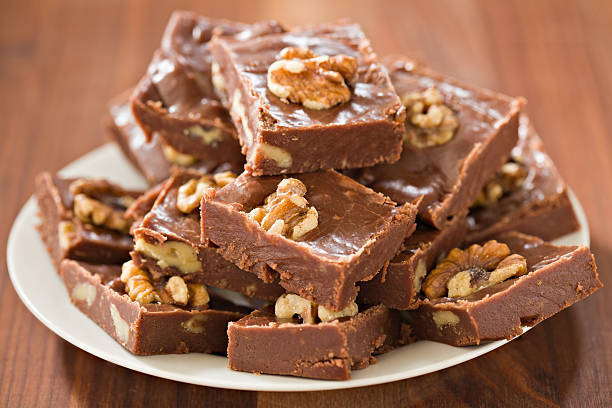
Fudge, with its rich, creamy texture and indulgent flavor, is a beloved treat for many. Making the perfect fudge requires attention to detail and following precise steps. Here’s a step-by-step guide to crafting delectable fudge every time.
Step 1: Prepare the Pan
Begin by preparing the pan in which you’ll pour the fudge mixture. Line a square or rectangular baking pan with parchment paper or aluminum foil, leaving an overhang on the sides to easily lift the fudge out later. Lightly grease the paper or foil with butter or cooking spray to prevent the fudge from sticking.
Step 2: Cook the Fudge
In a heavy-bottomed saucepan, combine sugar, butter, and evaporated milk over medium heat. Stir continuously to dissolve the sugar and melt the butter. Once the mixture comes to a boil, reduce the heat to medium-low and insert a candy thermometer into the mixture.
Cook the fudge until it reaches the soft-ball stage, which is around 235-240°F (113-116°C) on the candy thermometer. This step is crucial for achieving the perfect texture. Be patient and avoid stirring too vigorously to prevent crystallization.
Step 3: Cool and Beat the Fudge
Once the fudge reaches the soft-ball stage, remove it from the heat and let it cool for a few minutes, but not too much. Add vanilla extract or any flavorings of your choice, and then beat the mixture vigorously with a wooden spoon or an electric mixer. Beating the fudge helps to incorporate air and gives it a smooth, creamy texture.
Continue beating until the fudge starts to thicken and lose its glossy appearance. This process may take around 5-10 minutes, depending on the consistency you desire.
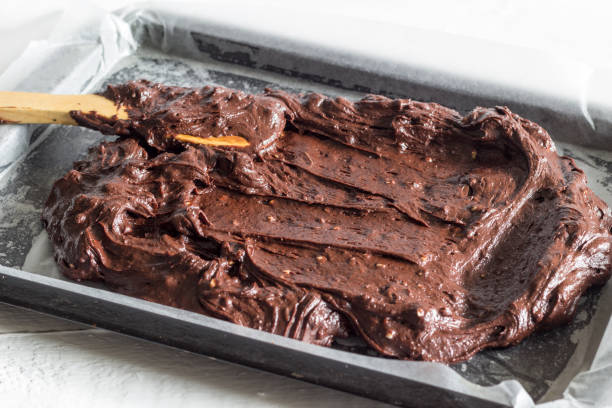
Step 4: Pour Fudge in the Pan
Once the fudge has thickened and become smooth, quickly pour it into the prepared pan, spreading it evenly with a spatula. Work swiftly, as the fudge will start to set rapidly.
Step 5: Cool the Fudge
Allow the fudge to cool at room temperature until it is completely set, which usually takes a few hours. You can speed up the process by placing the pan in the refrigerator for about an hour. Avoid touching or disturbing the fudge while it sets to ensure a smooth surface.
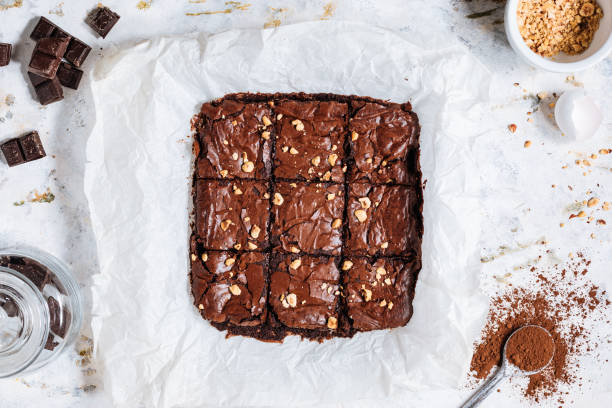
Step 6: Wrap and Store the Fudge
Once the fudge is firm and completely set, lift it out of the pan using the overhanging parchment paper or foil. Place it on a cutting board and use a sharp knife to cut it into squares or rectangles.
Individually wrap the fudge pieces in wax paper or plastic wrap to prevent them from sticking together. Store the wrapped fudge in an airtight container at room temperature for up to two weeks. For longer storage, keep it in the refrigerator for up to a month or freeze it for several months.
Best Tips to Follow When Making Fudge
Making fudge can be a delightful culinary adventure, but it requires attention to detail and precision to achieve the perfect texture and flavor. Here are some tips to help you master the art of fudge-making:
Use a Candy Thermometer
Using a candy thermometer is essential when making fudge. It ensures precision in cooking by accurately monitoring the temperature of the fudge mixture. This tool helps to achieve the desired texture and consistency, whether it’s soft and creamy or firm and chewy.
By carefully following the temperature guidelines, you can avoid overcooking or undercooking the fudge, resulting in a perfect batch every time.
A candy thermometer provides the confidence needed to create delicious fudge without guesswork, making it an indispensable tool in the fudge-making process.
Use High-Quality Ingredients
Using high-quality ingredients is paramount when making fudge. Quality ingredients, such as real butter, pure vanilla extract, and premium chocolate, contribute to the rich flavor and luxurious texture of the final product.
Opting for top-notch ingredients ensures that your fudge will have a superior taste and mouthfeel, elevating it from ordinary to extraordinary.
Additionally, high-quality ingredients often yield better results in terms of consistency and appearance, making your homemade fudge irresistibly delicious and worthy of savoring every decadent bite.
Prep Everything Before You Start
Prepping everything before starting is key to a smooth and successful fudge-making process. This includes measuring out all the ingredients, preparing the pan, and ensuring that all utensils are within reach.
By having everything organized and ready to go, you can focus entirely on the cooking process without any interruptions. Prepping in advance also helps to prevent mistakes and ensures that you can work efficiently, especially since fudge-making can require quick actions at certain stages.
With everything prepped and ready, you’ll be able to create your fudge masterpiece with ease and confidence.
Use a Heavy-Bottomed Saucepan
Using a heavy-bottomed saucepan is essential for making fudge. The heavy construction ensures even heat distribution, preventing hot spots that could lead to scorching or burning of the mixture.
This type of saucepan also provides better heat retention, allowing you to maintain a steady temperature throughout the cooking process. With a heavy-bottomed saucepan, you can cook the fudge mixture evenly and effectively, resulting in a smooth and creamy texture.
Additionally, the sturdy construction of the pan minimizes the risk of warping or damage, making it a reliable choice for all your fudge-making endeavors.
Stir Constantly
Stirring constantly is a crucial step when making fudge. Continuous stirring helps to distribute heat evenly throughout the mixture, ensuring that all ingredients melt and combine smoothly.
It prevents the fudge from sticking to the bottom of the pan and burning, which can negatively affect its taste and texture. Additionally, stirring prevents the formation of sugar crystals, which can result in a gritty texture in the finished fudge.
By staying vigilant and stirring the mixture consistently, you’ll achieve a silky-smooth fudge that melts in your mouth with every bite.
Avoid Overcooking
Avoiding overcooking is imperative in fudge-making to maintain the desired texture and prevent a dry or crumbly consistency. Overcooking can occur if the fudge mixture is left on the heat for too long, causing it to reach a higher temperature than intended.
This can result in the sugars caramelizing excessively, leading to a darker color and a less desirable flavor. To prevent overcooking, it’s essential to monitor the temperature carefully using a candy thermometer and remove the mixture from the heat as soon as it reaches the desired stage, typically the soft-ball stage.
By exercising caution and promptly removing the fudge from the heat, you’ll ensure a perfect balance of creaminess and sweetness in your finished product.
Beat the Fudge Properly
Properly beating the fudge is a crucial step in achieving its signature creamy texture. After the fudge mixture has cooled slightly, it’s essential to beat it vigorously to incorporate air and create a smooth consistency.
This process helps break down sugar crystals and fat molecules, resulting in a velvety texture that melts in your mouth. However, it’s essential not to overbeat the fudge, as this can cause it to become grainy or develop a stiff consistency.
Aim for a smooth and creamy texture, stopping once the fudge begins to thicken and lose its glossy appearance. With careful attention to beating, you’ll achieve the perfect balance of creaminess and richness in your homemade fudge.
Test for Soft-Ball Stage
Testing for the soft-ball stage is a critical skill in fudge-making, especially if you don’t have a candy thermometer. This stage refers to the point at which the sugar syrup reaches a temperature where it forms a soft ball when dropped into cold water.
To test for the soft-ball stage, simply drop a small amount of the hot fudge mixture into a bowl of cold water. Allow it to cool for a few seconds, then use your fingers to gently press and shape the mixture.
If it forms a soft, pliable ball that holds its shape but flattens easily when removed from the water, it has reached the soft-ball stage. This test ensures that the fudge will have the perfect consistency once cooled, resulting in smooth, creamy fudge every time.
Add Flavorings Carefully
Adding flavorings carefully is crucial in fudge-making to ensure the perfect balance of taste and texture. Whether you’re incorporating vanilla extract, cocoa powder, nuts, or other flavorings, it’s essential to do so at the right stage of the process.
Typically, flavorings are added after the fudge mixture has been cooked and removed from the heat but before it’s beaten. This allows the flavorings to blend evenly into the mixture without being affected by the high heat of cooking or the vigorous beating process.
Be mindful of the quantity of flavorings you add, as too much can overpower the fudge’s flavor or alter its texture. Start with small amounts and adjust to taste, remembering that you can always add more but can’t take away excess flavoring once it’s mixed in.
By adding flavorings carefully and thoughtfully, you’ll create fudge that’s bursting with delicious flavor and perfectly complemented by its creamy texture.
Allow Proper Cooling Time
Allowing proper cooling time is essential to ensure that your fudge sets correctly and achieves the desired texture. Once the fudge mixture has been poured into the prepared pan, it needs sufficient time to cool and firm up before cutting into pieces.
Cooling time can vary depending on factors such as the temperature of your kitchen and the thickness of the fudge layer. As a general guideline, allow the fudge to cool at room temperature for at least a few hours, or until it feels firm to the touch.
You can also speed up the cooling process by placing the pan in the refrigerator for about an hour. However, avoid touching or disturbing the fudge while it sets to prevent any unwanted marks or indentations on its surface.
By allowing proper cooling time, you’ll ensure that your fudge has a smooth, creamy texture and holds its shape beautifully when sliced into decadent squares.
Frequently Asked Questions (FAQs) – Get Fudge Out Of Glass Pan
Q: What’s the best way to ensure my fudge comes out of the glass pan effortlessly?
A: We’ve got you covered! Simply follow our easy tips and tricks for a stress-free fudge extraction experience.
Q: Is it possible to salvage my glass pan after making fudge without any damage?
A: Absolutely! With our expert advice, your glass pan will emerge unscathed and ready for its next culinary adventure.
Q: Can removing fudge from a glass pan be a delightful experience?
A: Indeed! Discover the joy of effortlessly releasing your delicious fudge from the confines of the glass pan with our proven methods.
Q: Will I need any special tools or chemicals to remove fudge from a glass pan?
A: Fear not! Our approach relies on simple household items and gentle techniques to preserve both your fudge and your glass pan.
Q: How can I ensure my fudge retains its perfect shape when removing it from the glass pan?
A: We’ve curated a selection of techniques that not only guarantee intact fudge but also showcase its irresistible allure when served.
Q: Can the process of removing fudge from a glass pan be described as satisfying?
A: Absolutely! Experience the satisfaction of flawlessly releasing your fudge creation, elevating your culinary prowess to new heights.
Q: Will following these methods make cleaning up after fudge-making easier?
A: Indeed! Our approach not only ensures a smooth fudge extraction but also simplifies the cleanup process, leaving you with more time to savor your sweet success.
Q: Can I trust these techniques to work every time I make fudge in a glass pan?
A: Rest assured, our tried-and-tested methods are reliable companions for every fudge-making endeavor, promising consistent results with each batch.
Q: Will I feel empowered and accomplished after successfully removing fudge from my glass pan?
A: Absolutely! Mastering the art of fudge extraction will leave you feeling empowered and accomplished, ready to tackle any culinary challenge that comes your way.
Conclusion
In conclusion, removing fudge from a glass pan can be a delicate task, but with the right approach, it is entirely achievable.
By employing methods such as chilling, heating, and using the proper tools like a spatula or knife, one can effectively loosen and remove stubborn fudge residue from the pan.
Additionally, preventive measures such as greasing the pan beforehand or lining it with parchment paper can significantly ease the removal process in the future.
With patience and careful attention to detail, anyone can master the art of getting fudge out of a glass pan, ensuring a clean and satisfying end result for every batch of delicious homemade treats.